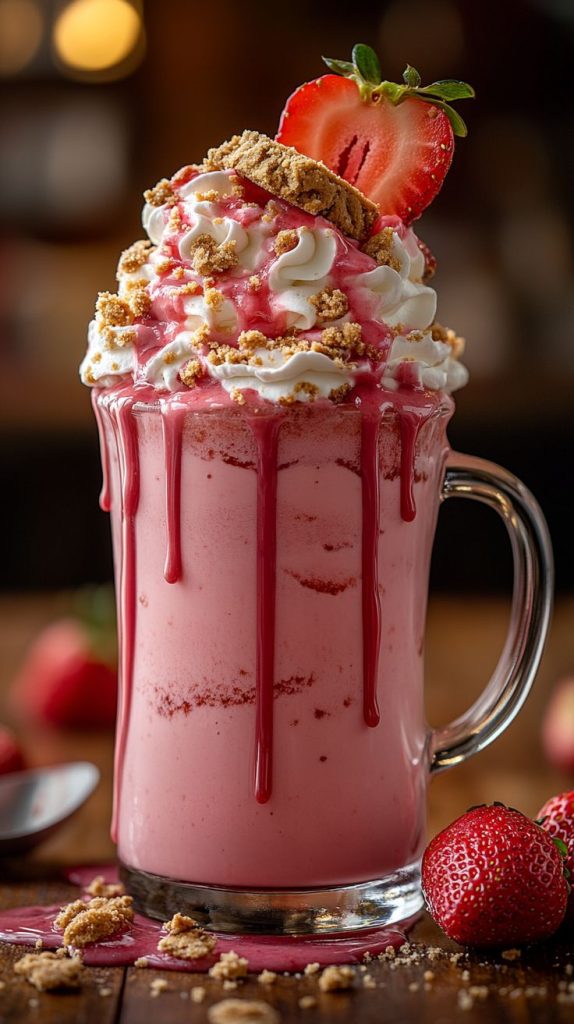
If you’re a fan of indulgent desserts and Instagram-worthy milkshakes, you’re going to fall head-over-heels for this Strawberry Cheesecake Freakshake. It’s over-the-top, outrageously creamy, and packed with all the strawberry cheesecake flavors you love—served in a tall glass dripping with sweetness. Whether you’re entertaining, celebrating, or just treating yourself, this freakshake is the ultimate dessert-meets-drink creation.
In this blog post, you’ll learn how to make Strawberry Cheesecake Freakshake right at home. No fancy tools required—just everyday ingredients, a blender, and your creative touch. Let’s turn your kitchen into a freakshake fantasy land.
🍓 What Is a Freakshake?
Before we dive into the creamy, strawberry-laced goodness, let’s talk freakshakes.
Freakshakes are the wild, souped-up cousins of regular milkshakes. Originating in Australia, these monster milkshakes are loaded with mix-ins and topped with treats like donuts, candy, cookies, whipped cream, and even slices of cake. And this strawberry cheesecake version? It’s the queen of them all.
🛒 Ingredients You’ll Need
To make this Strawberry Cheesecake Freakshake, gather the following ingredients:
For the Shake:
• 2 cups vanilla ice cream (or strawberry for extra flavor!)
• 1/2 cup milk (adjust for desired thickness)
• 1/4 cup cream cheese, softened
• 1/2 cup fresh or frozen strawberries
• 1 tsp vanilla extract
• 1–2 tbsp strawberry jam or syrup (optional, for extra flavor)
For the Decoration:
• Whipped cream (lots of it!)
• Strawberry frosting or melted white chocolate (for glass rim)
• Crushed graham crackers
• Mini cheesecake slice or cheesecake bites
• Fresh strawberries
• Strawberry Pocky sticks, marshmallows, or strawberry wafer cookies
• Sprinkles or pink sugar crystals (optional but fun!)
🧁 How to Prepare the Ultimate Freakshake
Step 1: Prep Your Glass Like a Pro
Start by decorating the rim of your milkshake glass. Dip the rim in strawberry frosting or melted white chocolate, then immediately roll it in crushed graham crackers. This gives that authentic cheesecake crust flavor right on the glass.
Pop it in the fridge or freezer while you make the shake so it firms up.
Step 2: Blend the Strawberry Cheesecake Base
In a blender, combine the vanilla ice cream, milk, cream cheese, strawberries, vanilla extract, and strawberry syrup or jam. Blend until smooth and creamy. You want it thick, but still pourable. Add a little more milk if it’s too thick to blend.
Step 3: Assemble the Freakshake
Take your decorated glass out of the freezer. Pour the milkshake into the glass, filling it almost to the top. Now, the fun begins!
Top generously with whipped cream, and begin adding all the over-the-top elements: stick in a slice of cheesecake, some fresh strawberries, a strawberry wafer or Pocky stick, maybe a marshmallow or two. Go wild with textures and layers.
Finish with a sprinkle of graham cracker crumbs and pink sprinkles for flair.
Step 4: Serve Immediately
Freakshakes are best enjoyed immediately while cold and before the whipped cream melts. Grab a spoon, a straw, and maybe a napkin or two—you’re about to dive into dessert paradise.
💡 Pro Tips for the Best Strawberry Cheesecake Freakshake
• Chill everything before starting: glass, ingredients, blender pitcher.
• Use high-fat ice cream and cream cheese for the creamiest results.
• Want more flavor? Add a scoop of strawberry or cheesecake-flavored pudding mix to the shake base.
• You can use store-bought cheesecake bites for faster assembly, or bake your own and refrigerate ahead of time.
🍓 Final Thoughts
Making a Strawberry Cheesecake Freakshake isn’t just about the recipe—it’s about creating a moment of joy. It’s playful, indulgent, and completely unforgettable. Whether you’re treating yourself or making dessert with friends, this shake is guaranteed to impress and satisfy.
So go ahead—grab that blender, stack the toppings, and unleash your inner dessert artist. Your sweet tooth (and your social media feed) will thank you!
