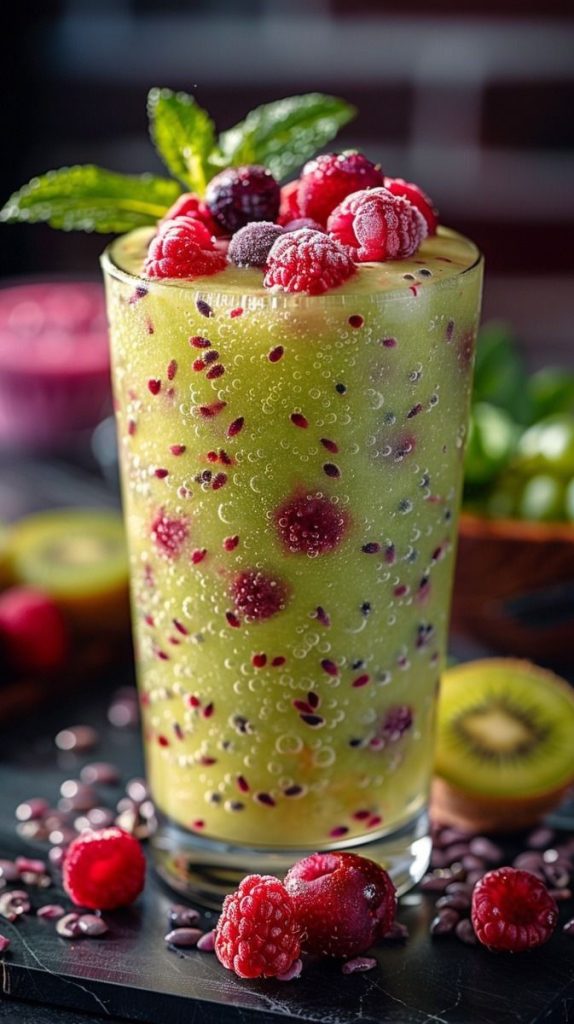
A Kiwi and Fresh Berries Smoothie is the perfect way to start your day with a burst of vitamins, antioxidants, and refreshing flavors. This smoothie is packed with vitamin C, fiber, and natural sweetness, making it an excellent choice for a healthy breakfast or post-workout drink, it’s super easy to prepare and customizable to suit your taste.
In this post, you’ll learn how to make a delicious kiwi and fresh berries smoothie, its health benefits, and some pro tips for the best results. Let’s get blending!
Why You’ll Love This Kiwi and Fresh Berries Smoothie
✔ Refreshing & Nutrient-Packed – Kiwi and berries provide an amazing mix of antioxidants, fiber, and essential vitamins.
✔ Perfect for Weight Loss & Digestion – High in fiber and low in calories, this smoothie keeps you full longer and supports digestion.
✔ Dairy-Free & Vegan-Friendly – Easily adaptable to fit different dietary preferences.
✔ Quick & Easy – Takes less than 5 minutes to prepare with just a few simple ingredients.
Health Benefits of Kiwi and Berries
1. Rich in Antioxidants
Berries like strawberries, blueberries, and raspberries are loaded with antioxidants that help fight free radicals and support overall health. Kiwi is also high in vitamin C, which boosts the immune system.
2. Aids Digestion
Kiwi contains actinidin, an enzyme that helps break down proteins and improves digestion. The fiber in both kiwi and berries also promotes gut health.
3. Supports Heart Health
The fiber, potassium, and antioxidants in kiwi and berries help reduce inflammation, lower cholesterol, and maintain a healthy heart.
4. Boosts Skin Glow
Vitamin C and antioxidants in this smoothie help promote radiant, youthful skin by supporting collagen production.
Ingredients for Kiwi and Fresh Berries Smoothie
• 2 ripe kiwis (peeled and sliced)
• 1 cup fresh mixed berries (strawberries, blueberries, raspberries, or blackberries)
• 1 frozen banana (adds natural sweetness and creaminess)
• 1 cup almond milk (or any plant-based milk)
• 1 tablespoon chia seeds (optional, for extra fiber and omega-3s)
• 1 teaspoon honey or maple syrup (optional, for extra sweetness)
• ½ cup ice cubes (optional, for a colder smoothie)
How to Make Kiwi and Fresh Berries Smoothie
Step 1: Prepare the Ingredients
Peel and slice the kiwis. Wash the berries thoroughly. If using a frozen banana, make sure it’s sliced for easier blending.
Step 2: Blend Everything Together
In a high-speed blender, add the kiwis, berries, frozen banana, almond milk, chia seeds, and sweetener (if using). Blend until smooth and creamy.
Step 3: Adjust the Consistency
If the smoothie is too thick, add a bit more almond milk. If you want it colder, toss in some ice cubes and blend again.
Step 4: Serve and Enjoy
Pour the smoothie into a glass or bowl, top with extra berries, chia seeds, or a slice of kiwi, and enjoy immediately!
Pro Tips for the Best Kiwi and Fresh Berries Smoothie
✅ Use Frozen Berries – This makes the smoothie thicker and colder without needing extra ice.
✅ Sweeten Naturally – If you prefer a sweeter smoothie, add honey, maple syrup, or a Medjool date.
✅ Boost the Protein – Add a scoop of protein powder or Greek yogurt for a post-workout boost.
✅ Experiment with Add-Ins – Try adding spinach, flaxseeds, or nut butter for extra nutrients.
FAQs About Kiwi and Fresh Berries Smoothie
1. Can I Make This Smoothie Ahead of Time?
Yes! Store it in an airtight container in the fridge for up to 24 hours. Shake well before drinking.
2. What Can I Use Instead of Almond Milk?
You can use coconut milk, oat milk, dairy milk, or even water for a lighter version.
3. Is This Smoothie Good for Weight Loss?
Absolutely! It’s low in calories, high in fiber, and naturally filling, making it a great addition to a weight-loss diet.
Final Thoughts
This Kiwi and Fresh Berries Smoothie is not only delicious and refreshing but also a nutrient powerhouse. Whether you’re looking for a quick breakfast, a pre-workout energy boost, or a healthy snack, this smoothie has got you covered.
Give it a try and let me know how you like it in the comments! Also, don’t forget to pin this recipe on Pinterest and share it with your friends.
