
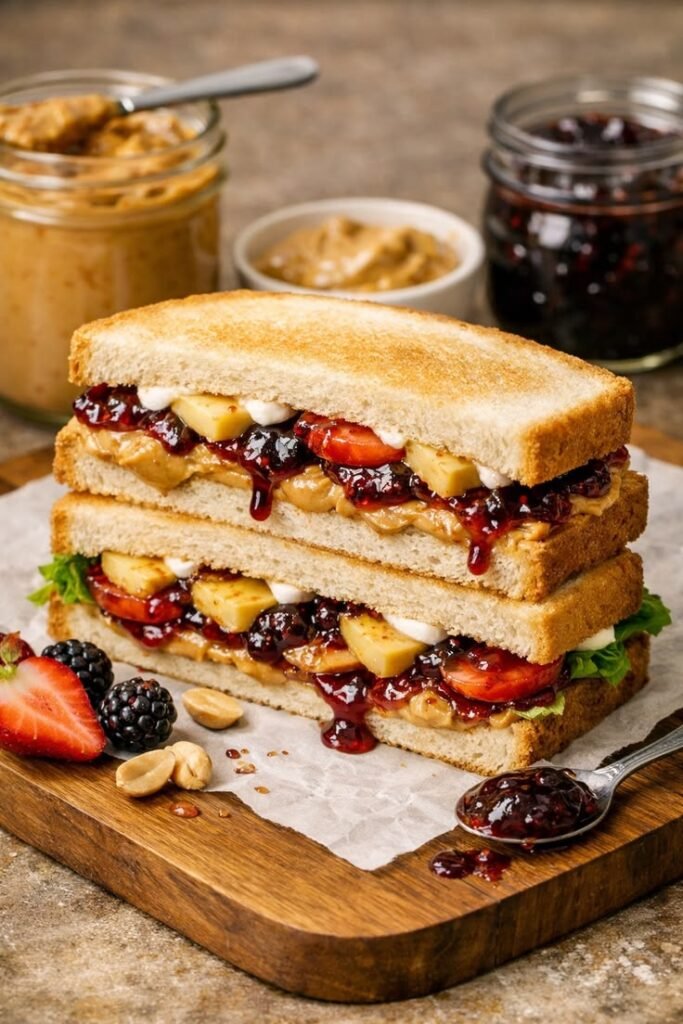
Few homemade meals are as familiar as the peanut butter and jelly sandwich. For many people, it recalls childhood lunches, school days, and the dependable routines of family life. A PB&J can be packed into a lunchbox, made after school, or assembled when there is little time to cook. Its modest ingredients and straightforward preparation make it accessible, while its associations with home and comfort give it a place in memories as well as everyday kitchens.
The sandwich’s lasting appeal also comes from a satisfying balance of textures and flavors. Peanut butter brings a rich, savory depth, whether it is smooth and creamy or coarse with crunchy pieces. Jelly adds sweetness and often a gentle tartness, with options ranging from grape and strawberry to raspberry or other fruit preserves. Soft bread holds the filling together and provides a mild, tender base. Each element is simple on its own, but together they create a combination that feels complete.
Convenience is another reason the classic remains popular. Making a peanut butter and jelly sandwich requires no stove, specialized equipment, or complicated technique. With a few pantry staples, it can be prepared in minutes and adjusted to suit different tastes. A thin layer of filling makes a neat, easy-to-pack lunch; a more generous spread offers a heartier snack. Small choices, such as the type of bread or the ratio of peanut butter to jelly, can make the familiar sandwich feel personal.
This guide explores how to make a classic PB&J, from choosing ingredients to assembling the layers neatly and avoiding common mishaps, such as soggy bread or filling that squeezes out at the edges. It also offers practical variations for changing the flavor or texture without losing the qualities that make the sandwich recognizable. Whether prepared for a child’s lunch, a quick bite between tasks, or a nostalgic treat, the peanut butter and jelly sandwich endures because it is uncomplicated, adaptable, and consistently comforting.
Soft sandwich bread is the traditional starting point for a peanut butter and jelly sandwich because its tender crumb is easy to bite and lets the fillings stand out. White bread offers a mild flavor and soft texture, while whole-wheat bread adds a nuttier taste and more fiber. Both work well when slices are fresh and flexible. For a heartier result, choose sturdier sandwich bread, such as a thick-cut loaf or seeded variety; it can support generous fillings without tearing. Toasting is optional, but even light toasting creates a firmer surface and changes the familiar soft bite.
Peanut butter brings savory richness and acts as a creamy, nutty counterpoint to fruit. Creamy peanut butter spreads smoothly, making an even layer that pairs well with delicate bread and smooth jelly. Crunchy peanut butter includes chopped peanuts, adding texture and a more pronounced roasted-nut character; it can make each bite feel heartier. Either style may be salted or unsalted, and sweetness varies by brand, so tasting it before assembly can help guide the amount of jelly. Natural peanut butter may separate, so stir it thoroughly; its thinner consistency can also make it more prone to spreading beyond the bread if used heavily. For a neat sandwich, apply a moderate layer and spread close to, but not over, the edges.
Jelly, jam, and preserves each bring fruit flavor, sweetness, and moisture. Smooth jelly, commonly made from fruit juice, spreads evenly and gives a consistent texture; grape jelly is a familiar choice with a mellow, sweet flavor. Strawberry jam often contains small fruit pieces, adding a brighter taste and a little chew. Preserves generally include larger pieces of fruit, offering a more textured, sometimes less uniform filling. These are options rather than rules: grape, strawberry, and other flavors can all pair well with either peanut butter style. The amount and thickness matter, too. A thick layer of sweet spread can dominate the nutty flavor and make bread slide, while a thinner layer may taste less sugary and hold together more neatly. Adjust both fillings to suit the bread and preferred balance.
Begin by placing two slices of bread on a clean plate or cutting board. Choose the bread you enjoy, whether soft white, whole wheat, or another variety, and make sure the slices are easy to handle. Set out the peanut butter and jelly, along with two clean knives or spreaders. Using a separate utensil for each spread keeps crumbs and peanut butter from mixing into the jelly jar, and makes the preparation tidier.
With one knife, scoop a moderate amount of peanut butter onto the first slice. Spread it gently and evenly, moving from the center toward the edges. Avoid pressing hard, since soft bread can tear under too much pressure. For a sandwich that is less likely to become soggy, take the peanut butter all the way to the edges. This thin border can help limit how much jelly touches and soaks into the bread. If the peanut butter is firm, let it sit at room temperature briefly so it is easier to spread.
Use the second clean knife to add jelly to the other slice. Start with a modest layer, then smooth it across the bread without pushing it over the edges. A moderate amount provides sweetness while helping prevent the filling from squeezing out when you take a bite. You can always adjust the quantity next time to suit your taste; some people prefer a thicker layer of peanut butter, while others like extra jelly.
Lift one slice and place it on top of the other, turning it so the peanut butter and jelly face inward. Press the slices together lightly, just enough to help the sandwich hold its shape. If desired, cut it in half with a clean knife, either straight across or diagonally into triangles. Serve it immediately, or pack it snugly in a container to keep the halves together. These simple steps make a classic PB&J easy for beginners to prepare, with room to personalize every layer.
A peanut butter and jelly sandwich is best served soon after it is made. The bread remains soft, and the separate layers of nutty peanut butter and sweet fruit spread are easier to appreciate before moisture has time to move through the slices. Cut it in half, if desired, and serve with familiar accompaniments such as fresh fruit, a glass of milk, or crunchy vegetables like carrot and celery sticks. These simple sides add variety without taking attention away from the sandwich.
For a lunchbox or picnic, wrap the sandwich snugly in parchment paper, reusable sandwich wrap, or foil so it holds its shape during transport. Keep it cool until serving, particularly when it will be carried for several hours or stored alongside other perishable foods. Making the sandwich shortly before it is due to be eaten can also help limit sogginess. A generous, even layer of peanut butter on both slices creates a barrier between the bread and jelly, which may help, though it does not prevent moisture indefinitely. If possible, pack the filling and bread separately and assemble them just before eating.
Small changes can offer variety while remaining easy to prepare. Toasting the bread gives the sandwich a crisp surface and a warmer flavor; let the toast cool slightly before spreading so the filling does not become overly soft. Strawberry jelly is familiar, but grape, raspberry, or another fruit spread can provide a different balance of sweetness and tartness. A few thin banana slices add a soft, mild fruit flavor and make the sandwich more substantial. These are variations on the traditional peanut butter and jelly combination rather than the classic version itself.
Before serving, check whether anyone eating the sandwich has a peanut allergy, and take care to avoid cross-contact with peanut products. When peanuts are not appropriate, choose a suitable alternative spread, such as sunflower seed butter, after checking its ingredients and any relevant allergy guidance. Serve and store that version with the same attention to freshness and safe handling.