
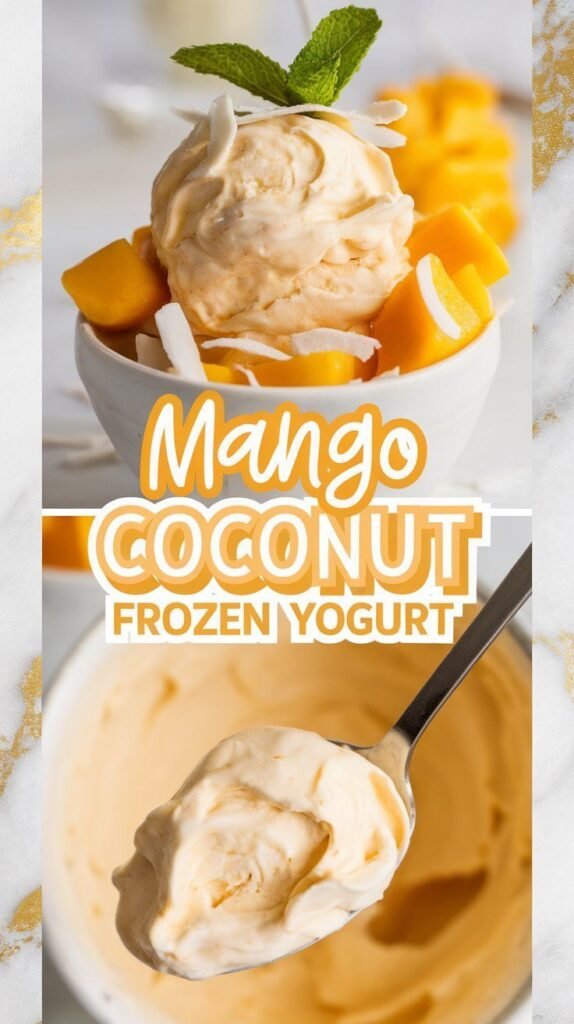
Start with ripe mangoes, plain yogurt, coconut milk or coconut cream, and a sweetener such as honey or sugar. Choose mangoes that feel slightly soft when gently pressed and smell fragrant near the stem; their natural sweetness and full flavor make the finished frozen yogurt especially appealing. Peel and remove the pits before using fresh fruit. If ripe mangoes are unavailable, frozen mango pieces are a convenient alternative. They can go straight into a blender or food processor, and their chill may help the mixture firm more quickly.
Plain yogurt provides the tangy base. Full-fat yogurt generally produces a richer, smoother texture, while lower-fat yogurt creates a lighter result that may feel less creamy once frozen. Coconut milk adds a gentle coconut flavor and richness; canned full-fat coconut milk gives a more substantial texture than a thinner beverage-style carton. Coconut cream is thicker still, so use it when you want a pronounced, indulgent finish. Adjust the amount of honey or sugar to suit the sweetness of the fruit. A little lime juice can brighten the flavor, while vanilla adds warmth. A small pinch of salt helps balance the sweetness, though these additions are optional.
For equipment, have a blender or food processor ready to purée the mango and combine the ingredients until smooth. You will also need a freezer-safe container with a lid for chilling and storing the mixture. A shallow container can help it freeze more evenly and make scooping easier. An ice cream maker is useful if available: churning incorporates air and can produce a softer, more uniform texture. However, it is not essential. The recipe can be prepared without one by freezing the blended mixture and stirring it periodically as it firms. Use a sturdy spoon or spatula for mixing, and allow the frozen yogurt to soften briefly at room temperature before serving if it becomes very firm.
For fresh mango, wash and dry the fruit, then slice off each cheek by cutting down either side of the flat pit. Score the flesh in a grid without cutting through the skin, turn the cheek inside out, and trim the cubes away with a knife. Peel and dice any remaining flesh around the pit. Measure the prepared fruit for the recipe, since mango size and usable yield vary. If using frozen mango, measure the pieces while still frozen; there is no need to thaw them first. Reserve a few small cubes if you would like a fruit swirl or garnish later.
Add the mango to a blender or food processor with yogurt, coconut milk or cream, and your chosen sweetener. A thicker, full-fat yogurt helps create a creamy base, while coconut cream gives a more pronounced coconut flavor and richer texture. Blend until the mixture is smooth, stopping to scrape down the sides as needed. Add optional flavorings such as lime juice, vanilla, or a small pinch of salt gradually, so they complement rather than overwhelm the mango. If the mixture will not blend, pause and stir it before adding liquid; even a small extra pour can make the base less thick.
Use chilled ingredients to help the base stay cold and limit the time it spends softening before freezing. Frozen mango can also keep the mixture cool during blending, but avoid adding water or excess coconut milk to compensate for a slow blender. Once smooth, taste the base before freezing and adjust it to suit your preference: add sweetener for more sweetness, lime juice or yogurt for extra tang, or coconut milk or cream for a stronger coconut note. Keep in mind that cold desserts taste less sweet once frozen, so the unfrozen mixture may seem slightly sweeter than the finished treat should be. Fold in reserved mango pieces, or save them with toasted coconut for a topping after churning or freezing.
Once the mango-coconut yogurt base is smooth, decide whether to use an ice cream maker or freeze it by hand. If the mixture feels warm from blending, or your machine performs best with cold ingredients, cover the bowl and refrigerate the base until thoroughly chilled, usually one to two hours. A cold mixture churns more efficiently and is less likely to develop large ice crystals. Before churning, give it a brief stir so any settled fruit is evenly distributed; avoid adding extra liquid at this stage, since it can make the finished yogurt softer and icier.
For an ice cream maker, pour the chilled base into the machine and churn it according to the manufacturer’s instructions. Keep churning until the mixture thickens and reaches a creamy, soft-serve-like consistency; the time will vary by machine and batch size. The yogurt will still be quite soft when it comes out of the bowl. Transfer it promptly to a freezer-safe container, spread it level, and cover it with a tight-fitting lid. For a smoother surface and better protection from freezer odors, press a piece of parchment or plastic wrap directly against the yogurt before closing the lid. Freeze until firm enough to scoop, checking after a few hours.
To make the frozen yogurt without a machine, pour the base into a shallow freezer-safe container. A wide, shallow dish helps it freeze more evenly than a deep tub. Cover the surface and place the container in the freezer. Every 30 to 45 minutes, stir the mixture thoroughly, scraping the frozen edges into the softer center; alternatively, briefly re-blend it if the container and blender are suitable. Repeat until the mixture is thick and mostly frozen, then cover it again and let it firm up. This method takes more attention, and the result may be firmer or icier than churned yogurt. Keep the surface covered throughout storage to limit freezer burn, and allow the frozen yogurt to soften briefly at room temperature before serving.
Once the frozen yogurt has finished churning, transfer it to a freezer-safe container and freeze until firm enough to serve. If it has been frozen for several hours or overnight, let it stand at room temperature for about five to ten minutes before scooping. Check its consistency, since the edges may soften faster than the center. Avoid leaving the whole container out while serving; scoop what you need and return it promptly to the freezer.
For a simple finish, scatter toasted coconut over each portion to echo the coconut in the base. Fresh mango cubes add juicy contrast, while a little finely grated lime zest brightens the fruit’s sweetness. Chopped almonds, pistachios, or cashews bring crunch; add them just before eating so they remain crisp. A drizzle of passion fruit pulp can provide tartness and a more tropical note. Use toppings sparingly at first, then adjust to taste.
Customize the base by blending in passion fruit before churning, or swirl it through the finished mixture for distinct tangy ribbons. For a dairy-free version, choose a thick unsweetened plant-based yogurt and check that it suits freezing; texture and sweetness can differ from dairy yogurt. Increase the coconut milk modestly if you want a more pronounced coconut flavor, keeping the mixture balanced so it still freezes smoothly. You can also fold small mango chunks in after churning to add bursts of fruit.
Keep the frozen yogurt tightly covered in a freezer-safe container to limit air exposure and freezer odors. Homemade frozen yogurt hardens over time, so enjoy it while its texture is at its best. If it is firm, let it soften at room temperature rather than thawing it for long. Return leftovers promptly to the freezer, use utensils, and avoid repeated thawing and refreezing, which can affect texture and handling.