
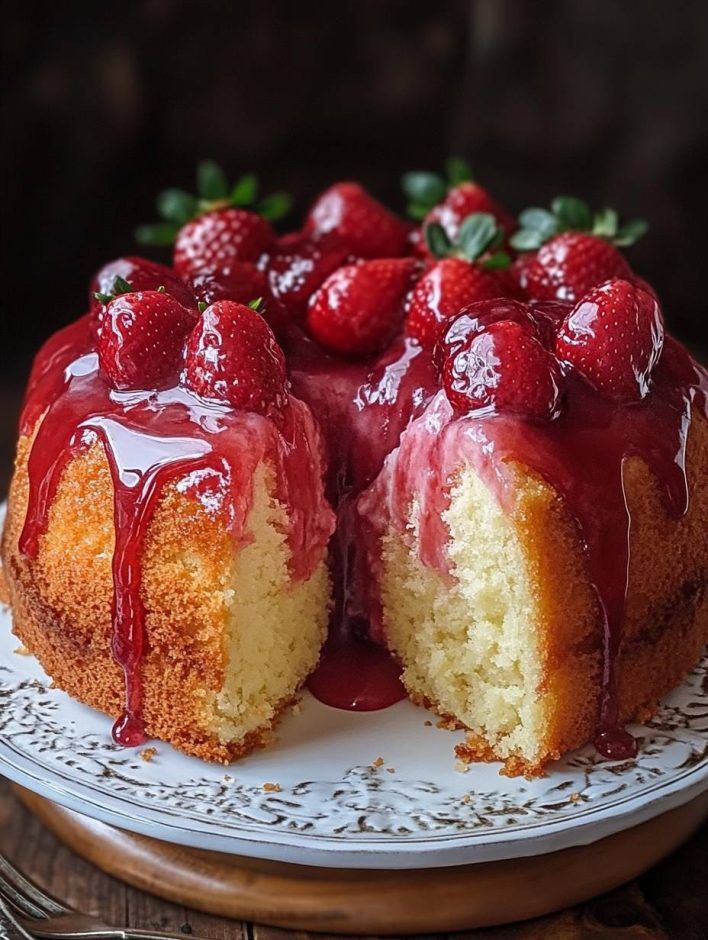
Learn how to make a creamy, dreamy strawberry cheesecake with this easy recipe. Perfect for beginners, this guide covers everything from the crust to the luscious strawberry topping!
Introduction: The Joy of Homemade Strawberry Cheesecake
Have you ever craved a dessert so indulgent, yet surprisingly easy to make? If so, let’s talk about cheesecake — specifically, the kind topped with juicy, vibrant strawberries. In this guide, we’ll show you exactly how to make strawberry cheesecake step by step. Whether you’re an experienced baker or a complete beginner, this recipe is foolproof and absolutely delicious!
Ingredients You’ll Need
Before we dive into the process, gather all your ingredients. Trust me, having everything ready makes baking much smoother!
For the Crust:
• 2 cups graham cracker crumbs
• 1/4 cup sugar
• 1/2 cup melted butter
For the Cheesecake Filling:
• 3 cups cream cheese (softened)
• 1 cup sugar
• 3 large eggs
• 1 tsp vanilla extract
• 1 cup sour cream
For the Strawberry Topping:
• 2 cups fresh strawberries (hulled and halved)
• 1/2 cup sugar
• 1 tbsp lemon juice
• 1 tbsp cornstarch (mixed with 2 tbsp water)
Step-by-Step: How to Make Strawberry Cheesecake
Follow these easy steps to create your masterpiece!
Step 1: Prepare the Crust
• Preheat your oven to 325°F (160°C).
• In a bowl, combine the graham cracker crumbs, sugar, and melted butter. Mix until the crumbs are fully coated.
• Press the mixture firmly into the bottom of a 9-inch springform pan. Use the back of a spoon to smooth it out evenly.
• Bake the crust for 10 minutes, then let it cool completely.
Step 2: Make the Cheesecake Filling
• In a large mixing bowl, beat the cream cheese and sugar until smooth and creamy.
• Add the eggs one at a time, beating well after each addition.
• Mix in the vanilla extract and sour cream until fully combined. The batter should be silky and lump-free.
Step 3: Bake the Cheesecake
• Pour the filling over the cooled crust and smooth the top with a spatula.
• Wrap the bottom of the springform pan with foil and place it in a larger baking dish. Fill the dish with hot water halfway up the sides of the pan — this water bath helps prevent cracks!
• Bake for 55–60 minutes, or until the edges are set but the center still jiggles slightly.
• Turn off the oven and let the cheesecake cool inside with the door slightly open for 1 hour.
Step 4: Prepare the Strawberry Topping
• In a small saucepan, combine the strawberries, sugar, and lemon juice over medium heat.
• Cook for 5–7 minutes, stirring occasionally, until the strawberries release their juices.
• Add the cornstarch slurry and stir continuously until the sauce thickens.
• Let the topping cool completely before pouring it over the cheesecake.
Step 5: Assemble and Chill
• Once the cheesecake is fully cooled, spread the strawberry topping evenly over the top.
• Cover the cheesecake and refrigerate for at least 4 hours, preferably overnight, to allow the flavors to meld and the texture to set.
Tips for the Perfect Strawberry Cheesecake
• Room temperature ingredients: Always use room-temperature cream cheese and eggs for a smoother filling.
• Don’t rush cooling: Let the cheesecake cool gradually to prevent cracks.
• Fresh strawberries: Use fresh, ripe strawberries for the best flavor and natural sweetness.
Why You’ll Love This Recipe
Not only is this strawberry cheesecake visually stunning, but it also tastes like a slice of heaven. The buttery crust perfectly complements the creamy filling, while the sweet, slightly tart strawberry topping adds a refreshing burst of flavor. Plus, the recipe is straightforward, making it ideal for any home baker!
Final Thoughts: Savor Every Slice
Now that you know how to make strawberry cheesecake, there’s no need to wait for a special occasion — bake one just because you deserve it! Whether you’re sharing with loved ones or treating yourself, this homemade delight is bound to impress.
So, tie on your apron, preheat your oven, and get ready to create a dessert that looks as amazing as it tastes. And don’t forget to share your creations on social media — tag @HealthyLifestyleandBeyond so we can see your masterpiece!
Happy baking!